Visual inspection of a vehicle’s serpentine belt is more critical than ever – but advanced belt construction features mean the process has changed. No longer can you simply spot the old cracks and fraying that indicated a potential imminent failure. You need to know what to look for and equally as important, how to do it properly.
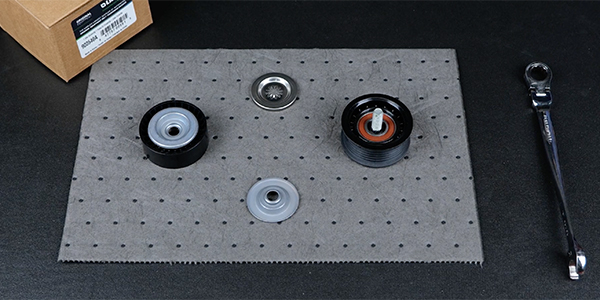
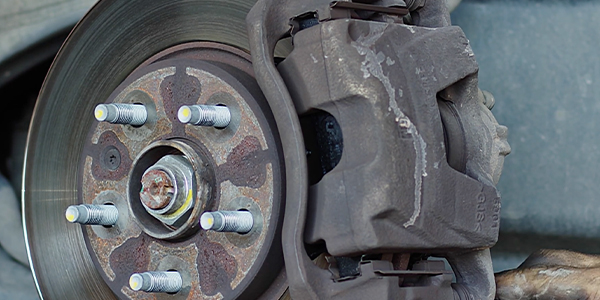
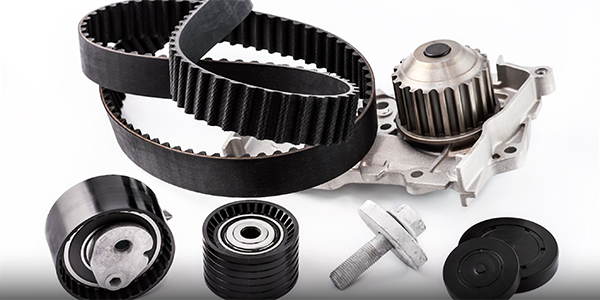
The serpentine belt is part of a system and is not the only component susceptible to wear. The tensioner, idlers and pulleys all have the same design life as the belt. On some vehicles (if equipped), the decoupler pulley on the alternator wears over time and needs to be inspected and replaced when needed.
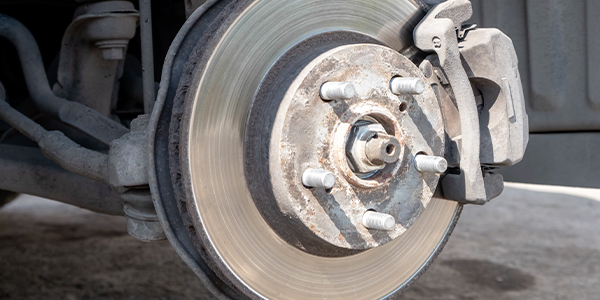
Friction between the belt and pulleys wears away at the belt. This wear usually occurs on the sidewalls of the ribs. This material loss on the ribs allows the belt to slip in the drive. The belt can no longer efficiently drive the accessories which affects their performance.
In addition to checking the grooves, watch the belt while the engine is running. If you see a lot of movement or flutter in the belt, the tensioner is probably weak or sticking and should be replaced. The drive should be checked for any misalignment in the pulleys. This can sometimes be done visually (with the engine off) but usually requires the use of more sophisticated tools like a laser alignment tool.
Replacement serpentine belts must be the same length as the original. Make sure the belt that is being installed is applicated for the vehicle it is being installed in. Low-quality replacement belts may not be the correct length and will push the tolerances of the tensioner. A belt that is too short, for example, will cause too much tension and put higher than normal loads on the bearings inside the alternator, power steering pump and water pump. A belt that is too long may slip, make noise and wear prematurely. It will also cause the tensioner to work harder and fail sooner.
OAD decoupler pulleys that are installed on higher amperage alternators enhance engine efficiency andenable the alternator to “coast” freely in cases of sudden belt deceleration. If the pulley fails, it will cause noise and belt flutter, which may also affect the automatic belt tensioner.
To most accurately inspect the alignment in the pulley system, use a laser alignment tool. By doing so, you can uncover if you have one or more belt-eating culprits such as parallel or angular misalignment. Pulley run-out is misalignment from a bent component shaft or worn bearings. During your inspection, keep an eye out for bent or broken accessory brackets, and look for loose, missing or broken bolts – these items will contribute to belt alignment issues.
You can also check the system without the belt in place. With the engine off, try to move the pulleys fore and aft to make sure the mounting is tight, and the pulley exhibits minimal axial movement, which can cause misalignment. With your hands, move all idlers fore and aft and check for free rock. Excessive movement indicates a bearing or alignment problem, and that the idler should be replaced. Make sure that any misalignment issues are taken care of.
Many systems with excess misalignment can be corrected by accessory mount shimming, shifting the position of the pulley on the accessory shaft or loosening the accessory mount points and varying the sequence of tightening.
With the engine off and the belt removed, the tensioner can be inspected more closely. Rotate the tensioner pulley by hand and feel for bearing roughness. A rough bearing indicates the potential for immediate failure and that the tensioner should be replaced. While rotating the pulley, look for (and remove) any accumulation of foreign material on the pulley surface.
With the proper tool, move the tensioner arm as if you were installing a new belt; move the arm through the full range of available travel. By feel, you can detect if there is roughness or sticking of the tensioner arm during this movement. Replace the tensioner if sticking is detected.
As a final step, attempt to move the tensioner arm toward and away from the engine. If looseness is detected, the pivot bushing in the tensioner has worn excessively and the tensioner should be replaced.
Remember, If you are replacing just the belt without looking at the other components, you could be sending a new belt to a premature death.
This video is sponsored by The Group Training Academy.